Disclaimer: As with any activity involving your valuable data, it is strongly advisable you have a proper backup before attempting this activity. I am not responsible for any data loss.
Some time ago I set up my Synology NAS at home to sync with another in a remote location using Shared Folder Sync, I configured several shared folders ranging from a few megabytes up to terabyte folders of information to do a nightly backup of files changed during the day.
Everything worked fine and I was happy with it knowing I had an automatic daily backup somewhere else until I needed to change the host name of my Dynamic Domain Name Server (DDNS), I use NO-IP.com for this purpose.
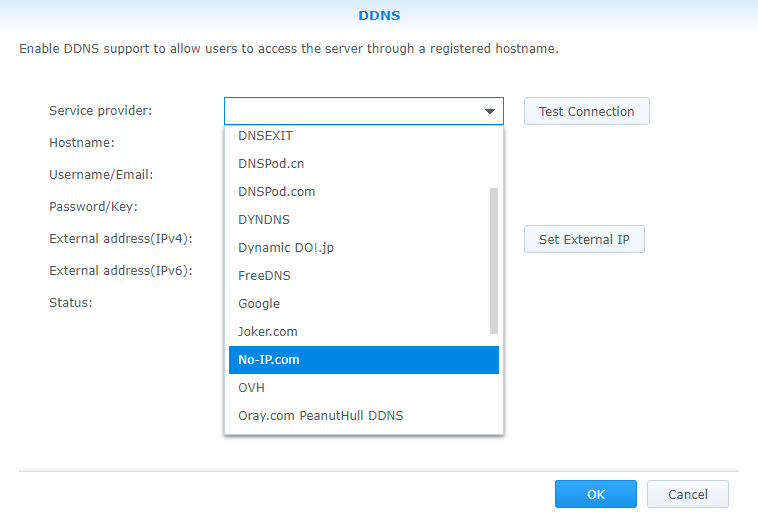
Shared Folder Sync works by configuring the host name or IP address of the remote NAS it need to connect to, an static IP address would be ideal, but I cannot use one hence the use of NO-IP. Changing the host name was easy but doing so created a new problem for me: Sync stopped working, my NAS could not find the remote host to connect and started to see errors in the Shared Folder Sync Task List as well as in the log with the following message: “Shared Folder Sync failed to Sync task [SOURCE FOLDER] to [REMOTE FOLDER]. (error code:30)

I am sure there are different approaches to solve this problem and I have identified two ways:
- Recreate the sync task and do a full sync that can take from minutes to days depending on the amount of data you have. This is what I ended up doing the first time, or…
- Temporarily move your data, edit the sync task, move your data back and sync again. This will take no time and you will be fully backed up in minutes. This is what I will explain next.
This first part is optional, but is helpful to confirm Shared Folder Sync is the problem.
Login to the NAS [SOURCE NAS] where you have your files [SOURCE FOLDER] being backed up.
Open Control Panel.
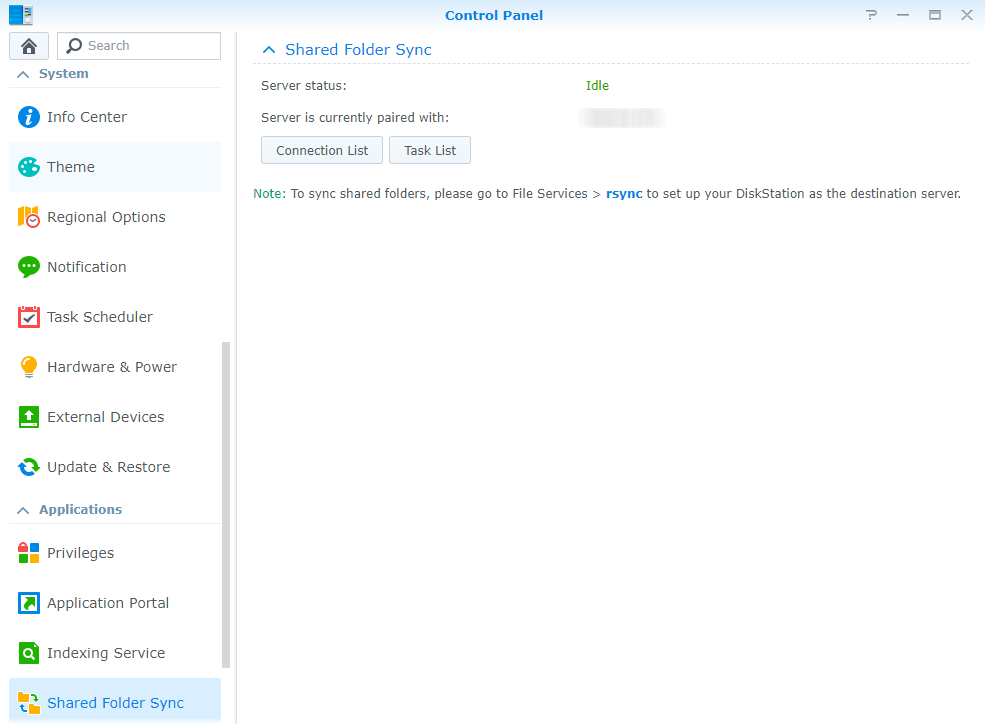
Go to Shared Folder Sync.
Open Task List and select failed task.

Go to Destination Tab and click on Test Connection.
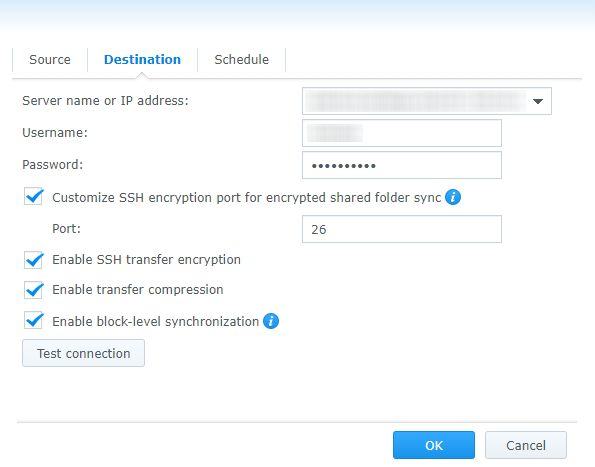
Verify connection is failing.

Now that you have verified the failing connection we can work on the solution.
Login to the remote Synology NAS [REMOTE NAS].

Open Control Panel.

Select Shared Folder and locate the folder receiving files, in this example is Docs [REMOTE FOLDER].

Click on Edit and rename the folder to avoid the system creating one with a different name when it syncs. In my case I renamed Docs to 2019-Docs.
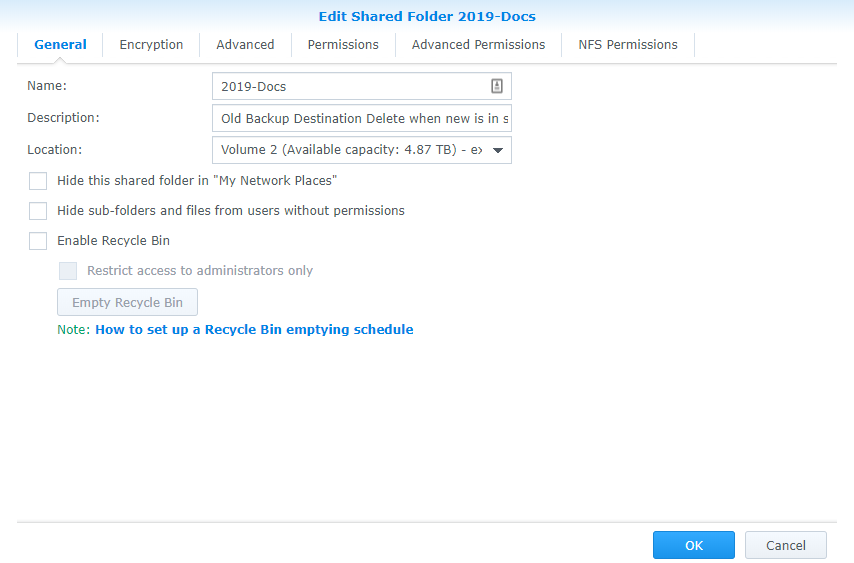
Go to the Advanced Permissions tab and click on Advanced Share Permissions. If it is not available, enable it by ticking Enable advanced share permissions.

Give your user read/write permissions.
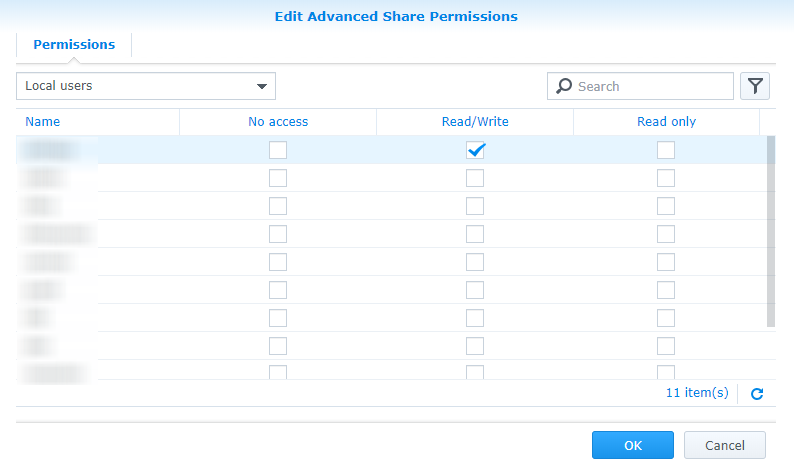
You will get a warning about the changes, accept the disclaimer.

DO NOT create a shared folder to replace the one you just renamed, the source Synology NAS will recreate it and assign the proper permissions.
At this point you have confirmed the task is not working, renamed the destination folder to avoid conflict when the task is enabled, and your files are in a different location to later move them back into the destination folder.
Now go back to your source Synology NAS and open Control Panel.
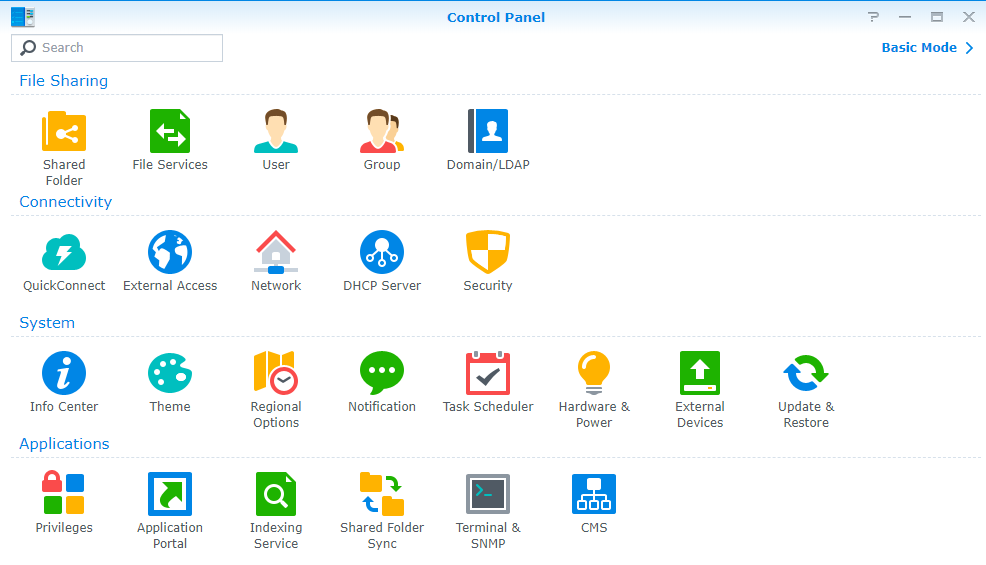
Click on Shared Folder Sync.

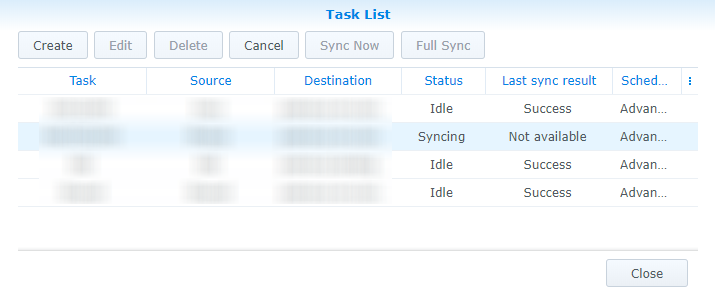
Click on Task List.
Select the failing task and click on Edit.

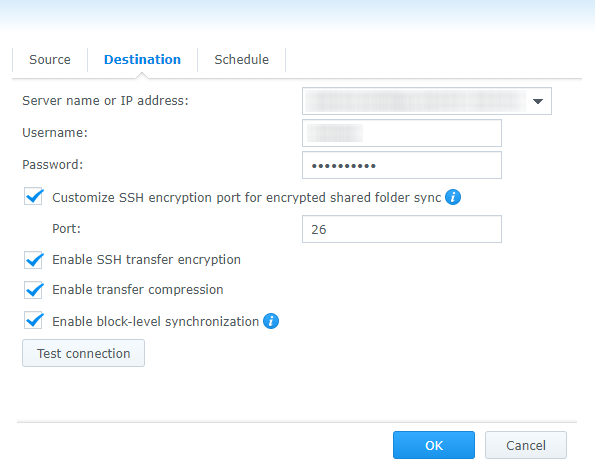
On the Destination tab, change the server name or IP address to the new.
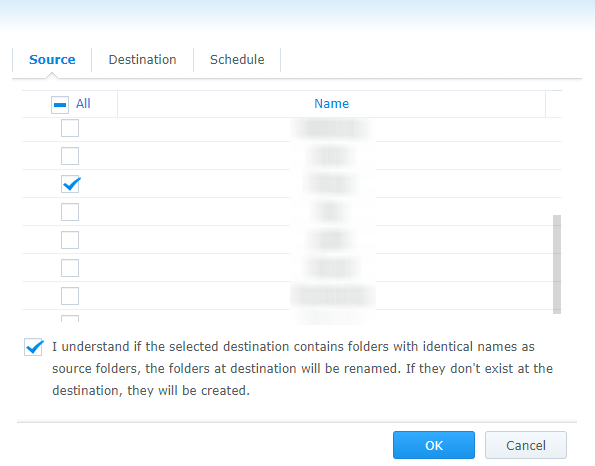
As soon as you click OK you will get a warning to accept the terms of the change, for that go to the Source tab and tick the terms box.

Go back to the Destination tab and test the connection.

After a successful connection, is time to get ready for data moving.

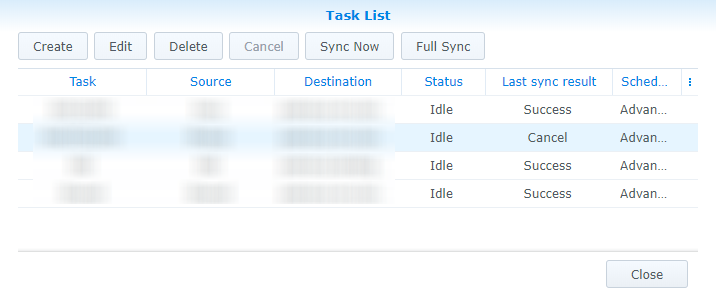
Do a sync now, DON’T DO FULL SYNC. Your source NAS will start recreating the folder structure at the destination NAS, you can cancel the task at any time then wait for status to change to “Cancel”.
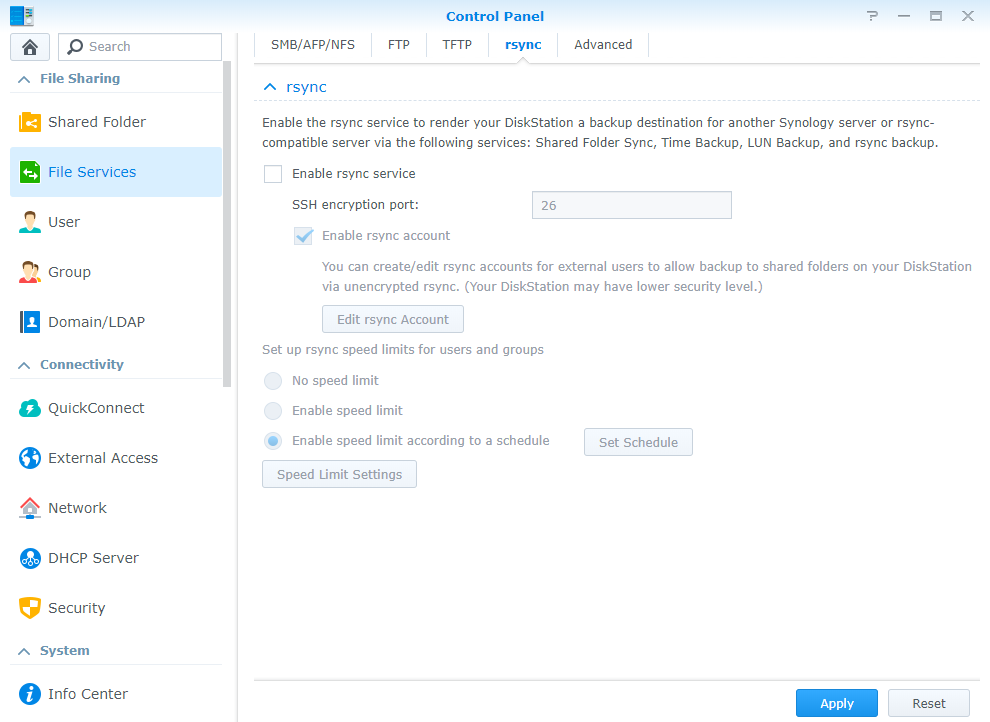
Return to Control Panel and click on File Services.

Click on the Rsync tab and disable the service by unticking “Enable rsync service” to avoid any sync from happening.
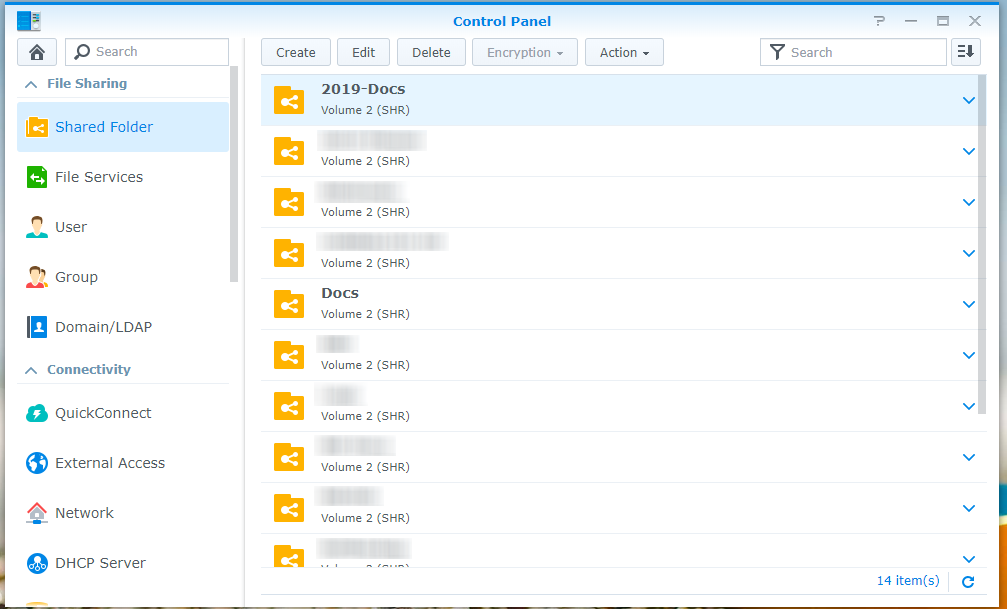
Now go back to the destination NAS and confirm shared folder has been created. Open Control Panel, select Shared Folders and verify you see the destination folder. You should see the renamed folder (2019-Docs) and the newly created (Docs) by the sync task.
Select the newly created folder and click on Edit, go to the Advanced Permissions tab and click on Advanced Share Permissions.

Give read/write permissions to your user and accept the warning again.


Time to move your files from the temporary folder (2019-Docs) to the newly created (Docs). Subfolders inside the destination can be safely overwritten. Open File Station to move your files.

After moving your files, open Control Panel and click on Shared Folders. Select the newly created folder and click on Edit.

Again, go to the Advance Permissions tab and click on Advanced Share Permissions and remove read/write permissions from your user.

Accept the warning as well.

Go back to you source Synology NAS, open Control Panel, click on File Services, re-enable rsync service and apply changes.

Now click on Shared Folder Sync in Control Panel and select the task list that you edited, click on Sync Now (DON’T DO FULL SYNC) and wait for it to finish. If everything is correct it should take minutes to finish and return to idle state and success as a result from the last sync.

Verify your information is where it should be then you can delete the temporary folder (2019-Docs) by selecting it in Shared Folder List, clicking on Delete and confirming your decision.

That’s it!
